Instead of cracking the wing, is it alright to sand the bottom of the leading edge of the wing to give it more lift?
Also, I'm having some problems where my glider seems excessively sensitive to bank angle changes. I can only shift around 2 degrees left or right of my launch settings and my glider comes spiraling downwards.
One last thing. My glider seems to be stalling slightly, but when I add some clay (~0.02 grams), my glider slows down at the top, then it starts to lose height rapidly, then slows and glides. To put it simply, my glider seems to be losing altitude when transitioning. Is there any way to counteract it?
Elastic Launched Gliders B
Re: Elastic Launched Gliders B
Carbon Fiber and glue are all you need for flying events
My friend says build events are easy. Trying to prove him wrong.
Fill out my form: https://forms.gle/vMUhZausSwEquw5o6
My friend says build events are easy. Trying to prove him wrong.
Fill out my form: https://forms.gle/vMUhZausSwEquw5o6
-
fifty_missions

- Member

- Posts: 71
- Joined: March 1st, 2013, 1:30 pm
- Division: C
- State: IN
- Has thanked: 0
- Been thanked: 2 times
Re: Elastic Launched Gliders B
Nope- not enough change in incidence plus, technically, you are reducing wing area. Crack and reset that wing that drops. MY BET is that you kill two birds with one stone-- it will probably help the transition as well.Instead of cracking the wing, is it alright to sand the bottom of the leading edge of the wing to give it more lift
Speaking of transition-
Instead of adding clay to the nose, add down elevator to the trailing edge of stab. This means the nose id lighter and the CG gets shifted aft and aerodynamically you get the glider to glide using that bit of down elevator.
Let us all know when you have done this task,
50 Missions
Re: Elastic Launched Gliders B
My glider weighs about 3.55-3.57 grams.bjt4888 wrote:Hartman,
What does your glider weigh?
Brian T
Thanks fifty_missions. I'm currently on spring break, but I'll let you know when I crack that wing and if it works.
Carbon Fiber and glue are all you need for flying events
My friend says build events are easy. Trying to prove him wrong.
Fill out my form: https://forms.gle/vMUhZausSwEquw5o6
My friend says build events are easy. Trying to prove him wrong.
Fill out my form: https://forms.gle/vMUhZausSwEquw5o6
-
AirplaneMan
- Member

- Posts: 15
- Joined: February 28th, 2019, 6:16 pm
- Division: B
- State: AL
- Has thanked: 0
- Been thanked: 0
Re: Elastic Launched Gliders B
Hi guys,
I have not cracked the wing and bent in up yet because of something that happened.
Just as I was about to do it, I made a test launch just to see how the glider was doing. It did not have a huge loss of altitude this time. I kept trying things and I realized that my launch and bank angles must've been affecting the glider. So, I decide to wait a little because the situation has gotten better.
However, the main problem seems to be that the beginning half of the glide is too fast. Here is an example situation: let's say I am launching the glider to a vertical altitude of 20 feet. The glider reaches the top and goes into the transition (the transition has improved- previously I was losing 8-10 feet of altitude but now it is around 2-3 feet). The glider glides, but its glide is faster than the normal speed. Now, at about half the altitude, so in this case 10 feet, the glider loses all of its extra speed from its fast glide and then it glides at the normal speed.
Note: When the glider glides down, the right wing is higher in the air by a very small amount (the glider turns left).
Could anyone tell me how to slow down that beginning part of the glide, and also how to completely eliminate any lost altitude (even 2-3 feet of altitude) during the transition?
Thanks,
AirplaneMan
-
builderguy135

- Exalted Member

- Posts: 737
- Joined: September 8th, 2018, 12:24 pm
- Division: C
- State: NJ
- Pronouns: He/Him/His
- Has thanked: 191 times
- Been thanked: 143 times
- Contact:
Re: Elastic Launched Gliders B
Try up elevator and slightly less bank at launch.AirplaneMan wrote:Hi guys,
I have not cracked the wing and bent in up yet because of something that happened.
Just as I was about to do it, I made a test launch just to see how the glider was doing. It did not have a huge loss of altitude this time. I kept trying things and I realized that my launch and bank angles must've been affecting the glider. So, I decide to wait a little because the situation has gotten better.
However, the main problem seems to be that the beginning half of the glide is too fast. Here is an example situation: let's say I am launching the glider to a vertical altitude of 20 feet. The glider reaches the top and goes into the transition (the transition has improved- previously I was losing 8-10 feet of altitude but now it is around 2-3 feet). The glider glides, but its glide is faster than the normal speed. Now, at about half the altitude, so in this case 10 feet, the glider loses all of its extra speed from its fast glide and then it glides at the normal speed.
Note: When the glider glides down, the right wing is higher in the air by a very small amount (the glider turns left).
Could anyone tell me how to slow down that beginning part of the glide, and also how to completely eliminate any lost altitude (even 2-3 feet of altitude) during the transition?
Thanks,
AirplaneMan
-
bjt4888
- Member

- Posts: 987
- Joined: June 16th, 2013, 12:35 pm
- Division: C
- State: MI
- Has thanked: 0
- Been thanked: 71 times
Re: Elastic Launched Gliders B
Airplaneman,
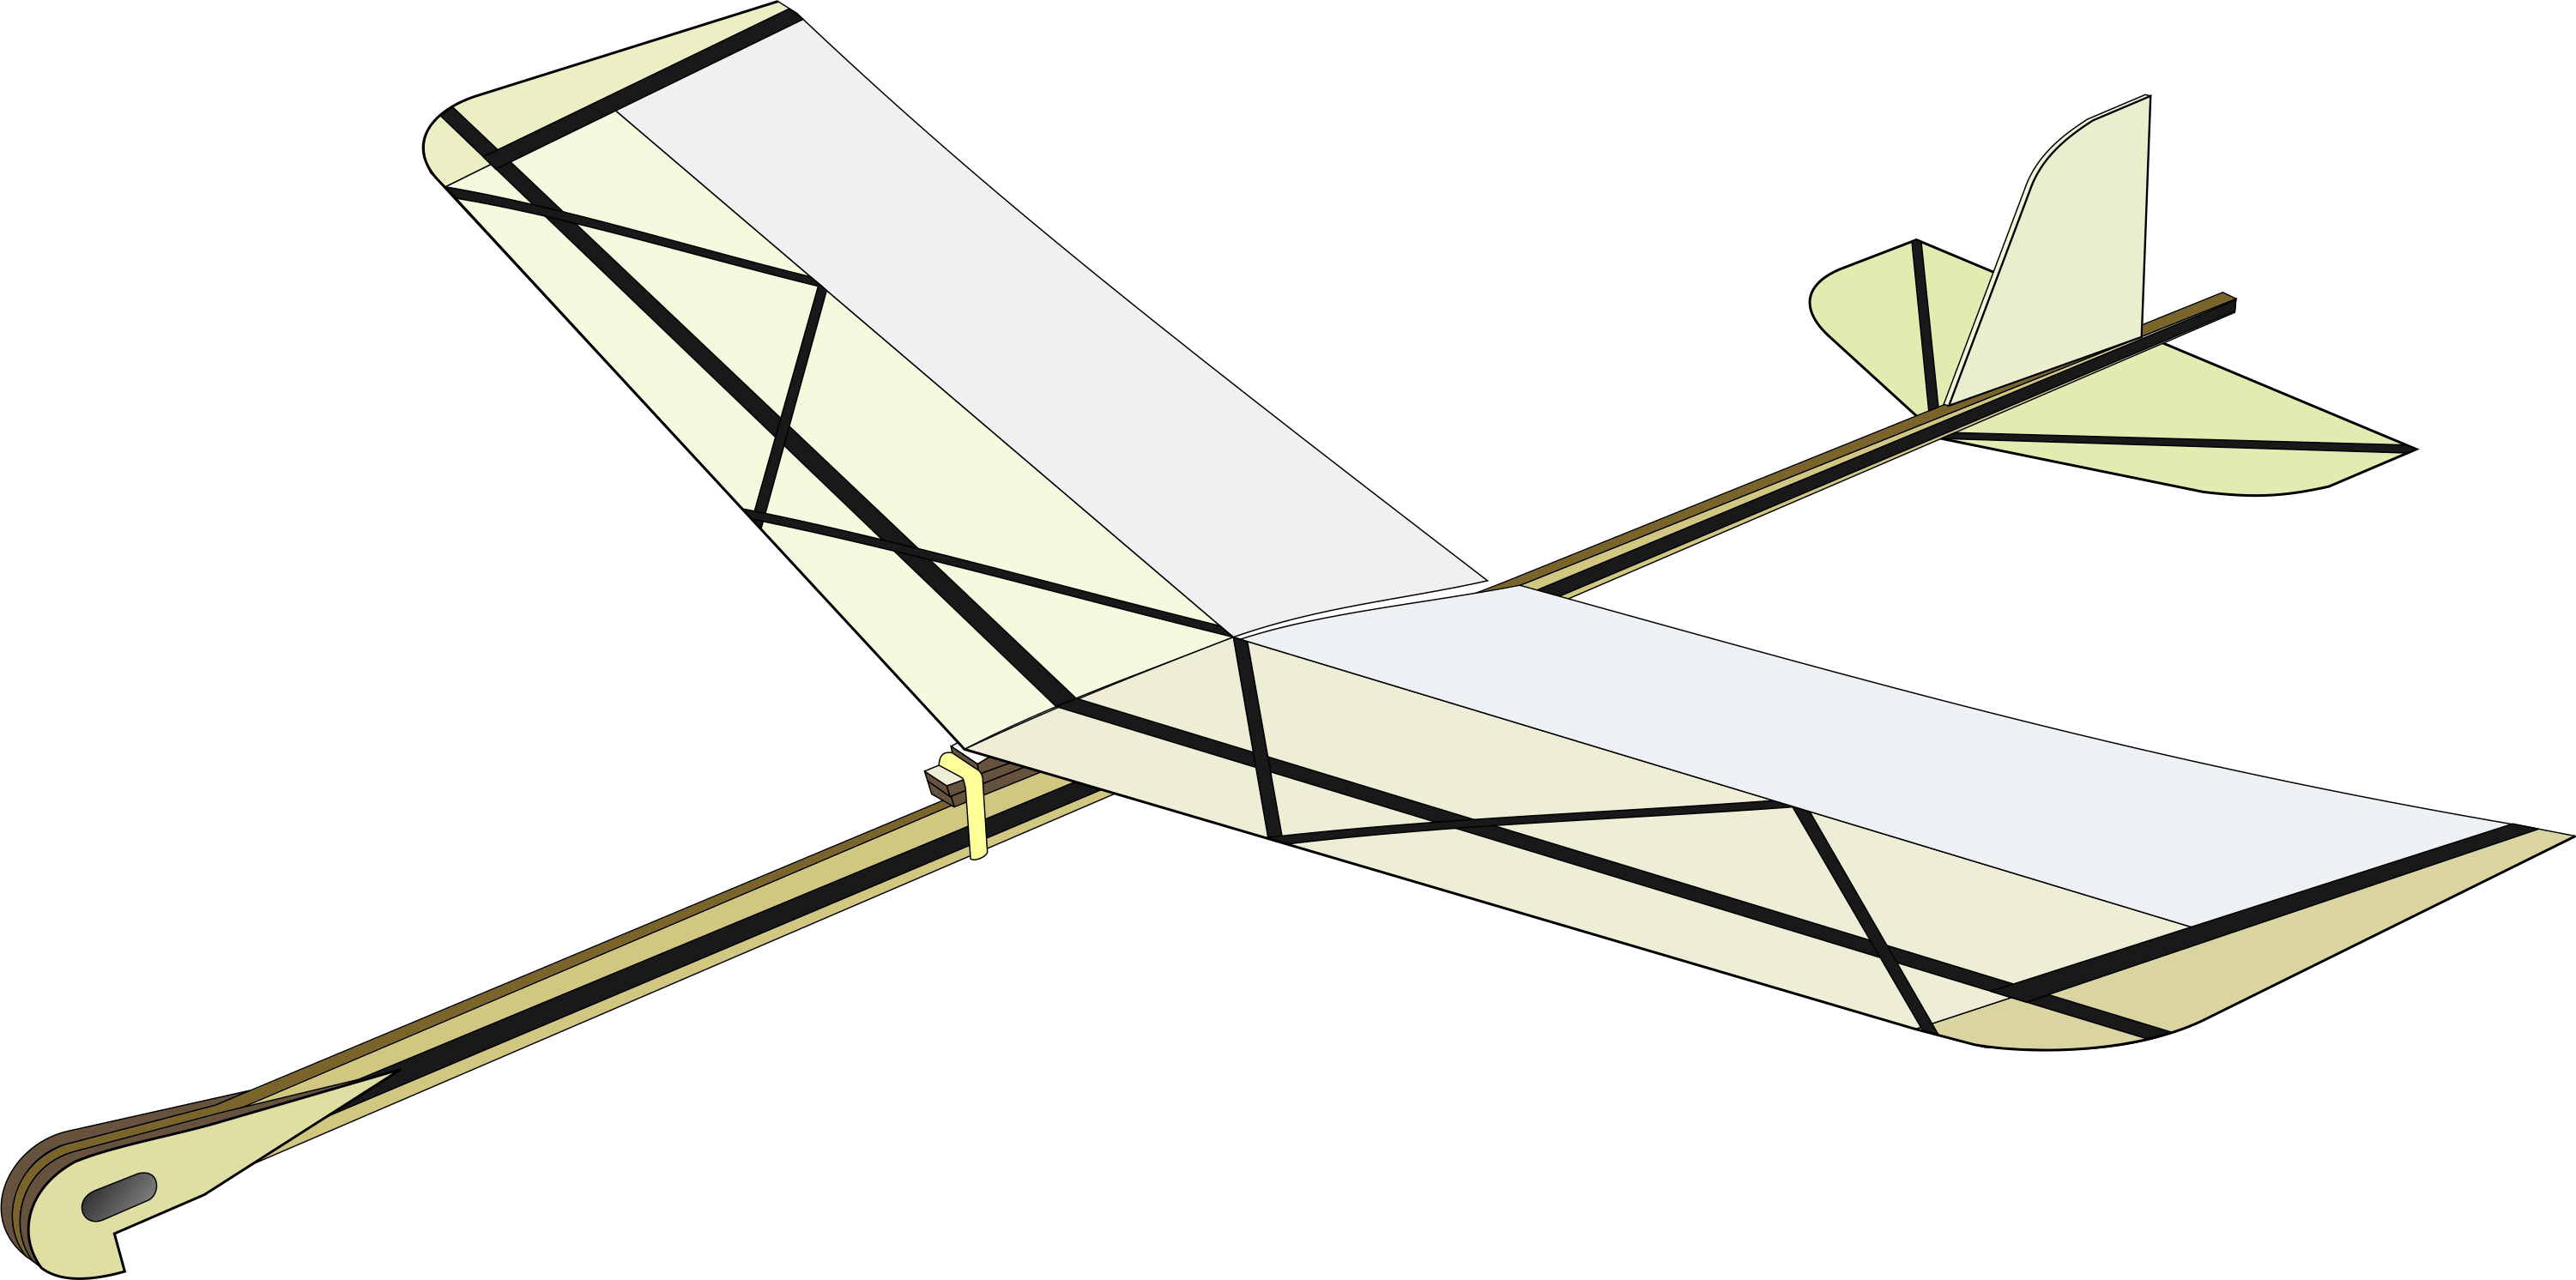
Builderguy has given you a possible solution. His solution would work if your current decalage angle (angular difference between wing and stabilizer horizontal projection) was too little. For a non-flapped glider, and in some cases for flappers too, this angle will usually need to be between 0.3 and 0.5 degrees at the start of trimming (as recommended by glider afficianado Kurt Krempertz in his article, “The Big Glider Secret”). If your angle is less than this, do as Builderguy recommends and increase the angle.
Our design and the FF kit design have a removable wing pylon or wing mount that allows this change to easily be made by inserting or removing thin shims between the fuselage and pylon/mount. A thin shim means 1/64” or 1/100” (thickness of most playing cards). If you need to add a shim of wing incidence in order to increase decalage angle,you will probably also need to add a small 1/16” ball of clay to the nose too.
Poor transition resulting in slight diving and loss of altitude can also occur if the decalage angle is to great and if you have compensated by adding a lot of clay to the nose. If more than the usual amount of clay needs to be added to the nose in order to produce a smooth flat glide when test gliding, and if the resultant CG is farther forward than the plan recommends, and if the launch climb path is noticibly upward arcing, these are clues that the decalage angle is too great. I this case, remove some wing incidence by shimming under the wing TE edge of the pylon or wing attachment (in the case of the FF kit).
Depending upon the exact nature of the shallow dive at transition (if the airplane is yawing and over-banking at this point in the flight) this can also be fixed by washing in the wing that is on the inside of the turn direction. 50 Missions and Josh have both posted description of this trim correction previously in this forum.
These methods work best, of course, if the glider surfaces are aligned well and if the glider is close to minimum weight. It’s much harder to trim an overweight glider.
If you can send more information on your glider and it’s flight, I can give much more specific help (ex. Design, weight, wing span, wing chord, stab area, wood densities and thicknesses of all parts, nose length, tail moment arm length (distance from wing TE and stab LE will do), flap material, flap deflection, CG distance from wing LE, fin height).
Good job improving transition and seeking help to improve even more!
Brian T
-
AirplaneMan
- Member
- Posts: 15
- Joined: February 28th, 2019, 6:16 pm
- Division: B
- State: AL
- Has thanked: 0
- Been thanked: 0
Re: Elastic Launched Gliders B
Thanks for the feedback!
My glider is made from the FF kit and it is built from the plans with no changes other than the flap deflection. The plans did not state an exact amount of flap deflection; they only gave a general amount, so that could be a difference. My glider has 3/8 inches of flap deflection. Could that be too much, causing more drag and reduced flight times? Also, through all of the trimming and testing I have done with the glider, I had to make repairs along the way so the glider now currently weighs about 3.9 grams. Previously it was about 3.6 grams.
I don't see an upward arcing path during the launch and the CG is in the same spot that the plans say it should be in, so I think the decalage angle is ok. Like the plans stated, I have been using shims to change decalage. The shim is about 3/16 inches tall, but maybe a little less depending on the exact positioning on the shim. The shim is 1 13/16 inches forward of the back of the platform on which the wing is on, so using trig that translates to ~1.3 degrees of positive decalage angle, but maybe a little less depending on the exact positioning of the shim.
Also, I am about to build another glider from the FF kit. I plan to build this one lighter so after the trimming process it is just over 3.5 grams. I was also considering less flap deflection, maybe 1/4 inches of deflection instead of the 3/8 inches. Is that a good idea? Or is my current flap deflection better?
Thanks, AirplaneMan
-
bjt4888
- Member
- Posts: 987
- Joined: June 16th, 2013, 12:35 pm
- Division: C
- State: MI
- Has thanked: 0
- Been thanked: 71 times
Re: Elastic Launched Gliders B
AM,
3/8” of flap deflection is quite a bit more than typical. Typical would be 1/8” to 1/4”.
Once you reduceflap deflection to 1/4”, you will effectively have reduced decalage slightly. CG will probably not need to be changed yet as you mentioned that it is currently per plan. The effect of this on the climb depends upon stiffness of flap material. Hand test glide after this change gently and if diving add 1/64” to 1/16” of wing incidence shim. Then hand test glide faster to see if it glides flat or slightly rising to a flat turning glide. If it dives or stalls in this fast test glide, adjust shims under wing mount accordingly. Hand test gliding is tricky. Be sure that you are aiming at a point on the floor about 30 ft away so that you are not test gliding nose up. If nose up, the airplane will always stall and this is a false piece of data.
I think we are misunderstanding each other regarding the shim. It looks like from the pictures of the FF glider that the entire wing mount stick/assembly may be 3/16” thick. This is not what I am referring to as a shim. A shim is a thin piece of wood or cardstock that is slipped between one end of the wingmount and the fuselage. If this shim is 1/32” thick and about 1/4” to 3/8” long, and the length of the wing mount that is under the forward part of the wing is 1.8125” (as you mentioned) then the wing incidence angle is 0.987 degrees.
Once the flap deflection is corrected and the hand test glides confirm any initial shimming needed, then try launches again. Bank and inclination angles may be different with this different trim, so start shallow in incline with moderate bank and moderate power.
Slight effective positive decalage angle (usually 0.3 to 0.5 degrees, depending upon flap deflectionand stiffness) will usually cause a slightly upward arcing flight path and a good transition, but possibly not the best duration. Once I have this flight path and good transition, I gradually remove incidence 1/100” at a time, verifying that transition is still good. This allows a little clay ballast to be removed from the nose, usually, good transition and best glide.
Brian T
-
AirplaneMan
- Member
- Posts: 15
- Joined: February 28th, 2019, 6:16 pm
- Division: B
- State: AL
- Has thanked: 0
- Been thanked: 0
Re: Elastic Launched Gliders B
We are talking about the same shims. In this image, https://www.freedomflightmodels.com/ima ... 20bare.jpg, there are 3 layers of wood under the wing. The wing is attached to the 1st piece of wood (piece closest to the top) that is seen. Let us call these 2 joined parts the wing piece (I don't remember the formal name for it at the moment). The 2nd piece (piece in the middle) is the shim, and the 3rd piece is the platform that the wing piece would normally sit on. So, without the shim, there would be the platform which the wing piece sits on. But then after adding the shim, you get the same thing as shown in the picture.
When I said that the shim is 3/64 inches thick, I meant that the very end (the end closest to the front) is that thick. I sanded the rest of the shim so the wing could rest comfortably on it, so I was just giving the thickness of the end of the shim. Also, I sanded the flaps to about .027 inches thick.
I guess I will just make the flaps on the next glider between 1/8 and 1/4 inches because the current flaps are not coming off and ripping them would not be good. But is it that bad to have too much flap deflection? Is it affecting the transition? I figured it would just increase drag during the glide.
Who is online
Users browsing this forum: No registered users and 0 guests